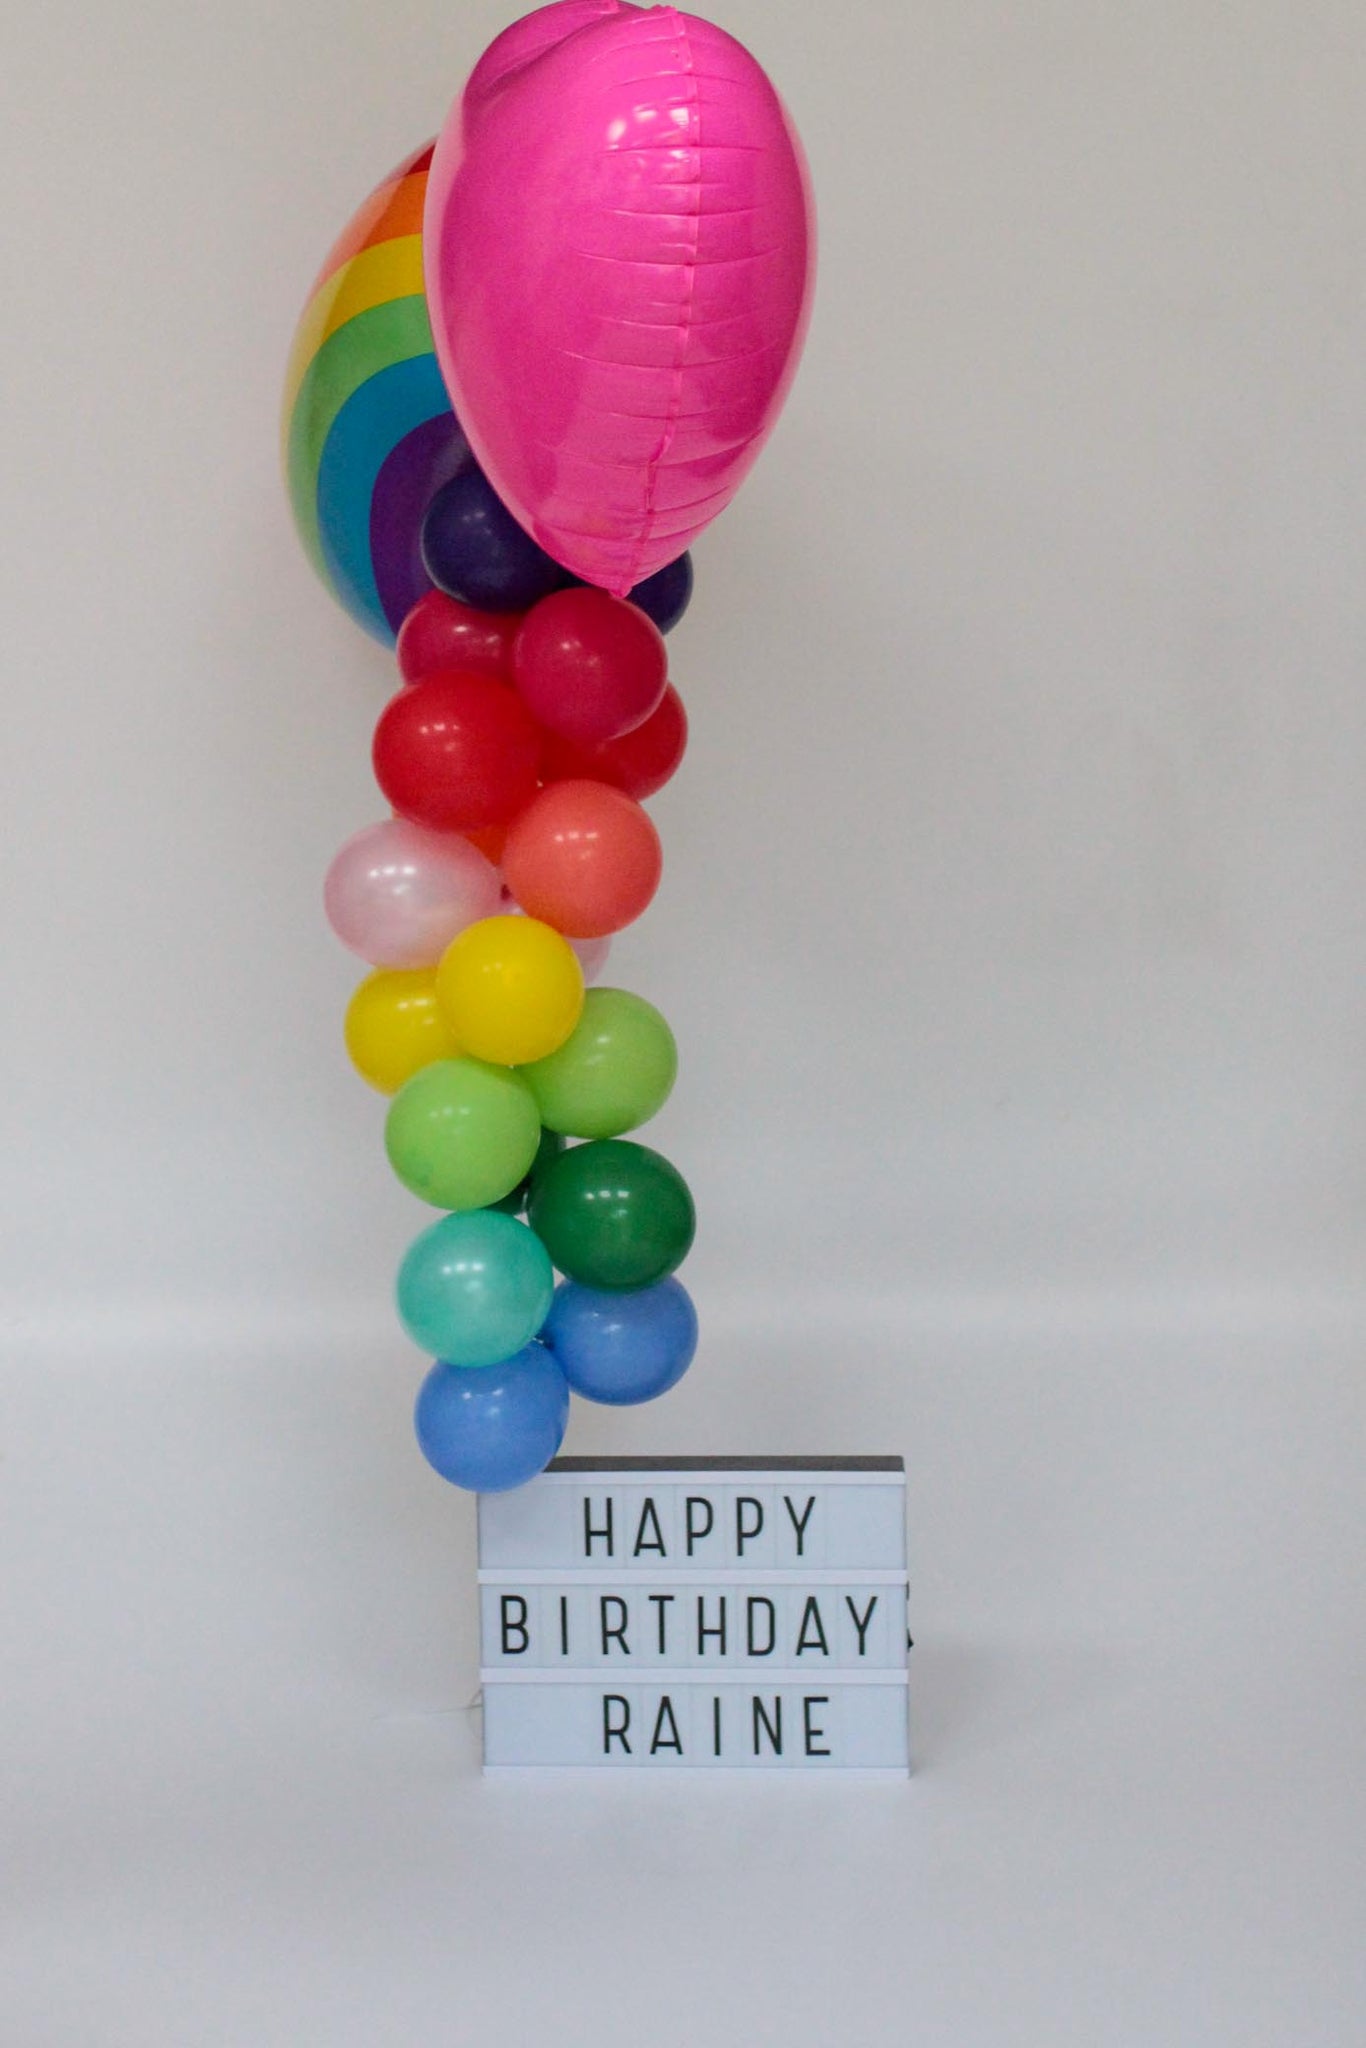
I love to make a feature out of balloons and adding a garland or tail is an easy way of making a balloon extra special.
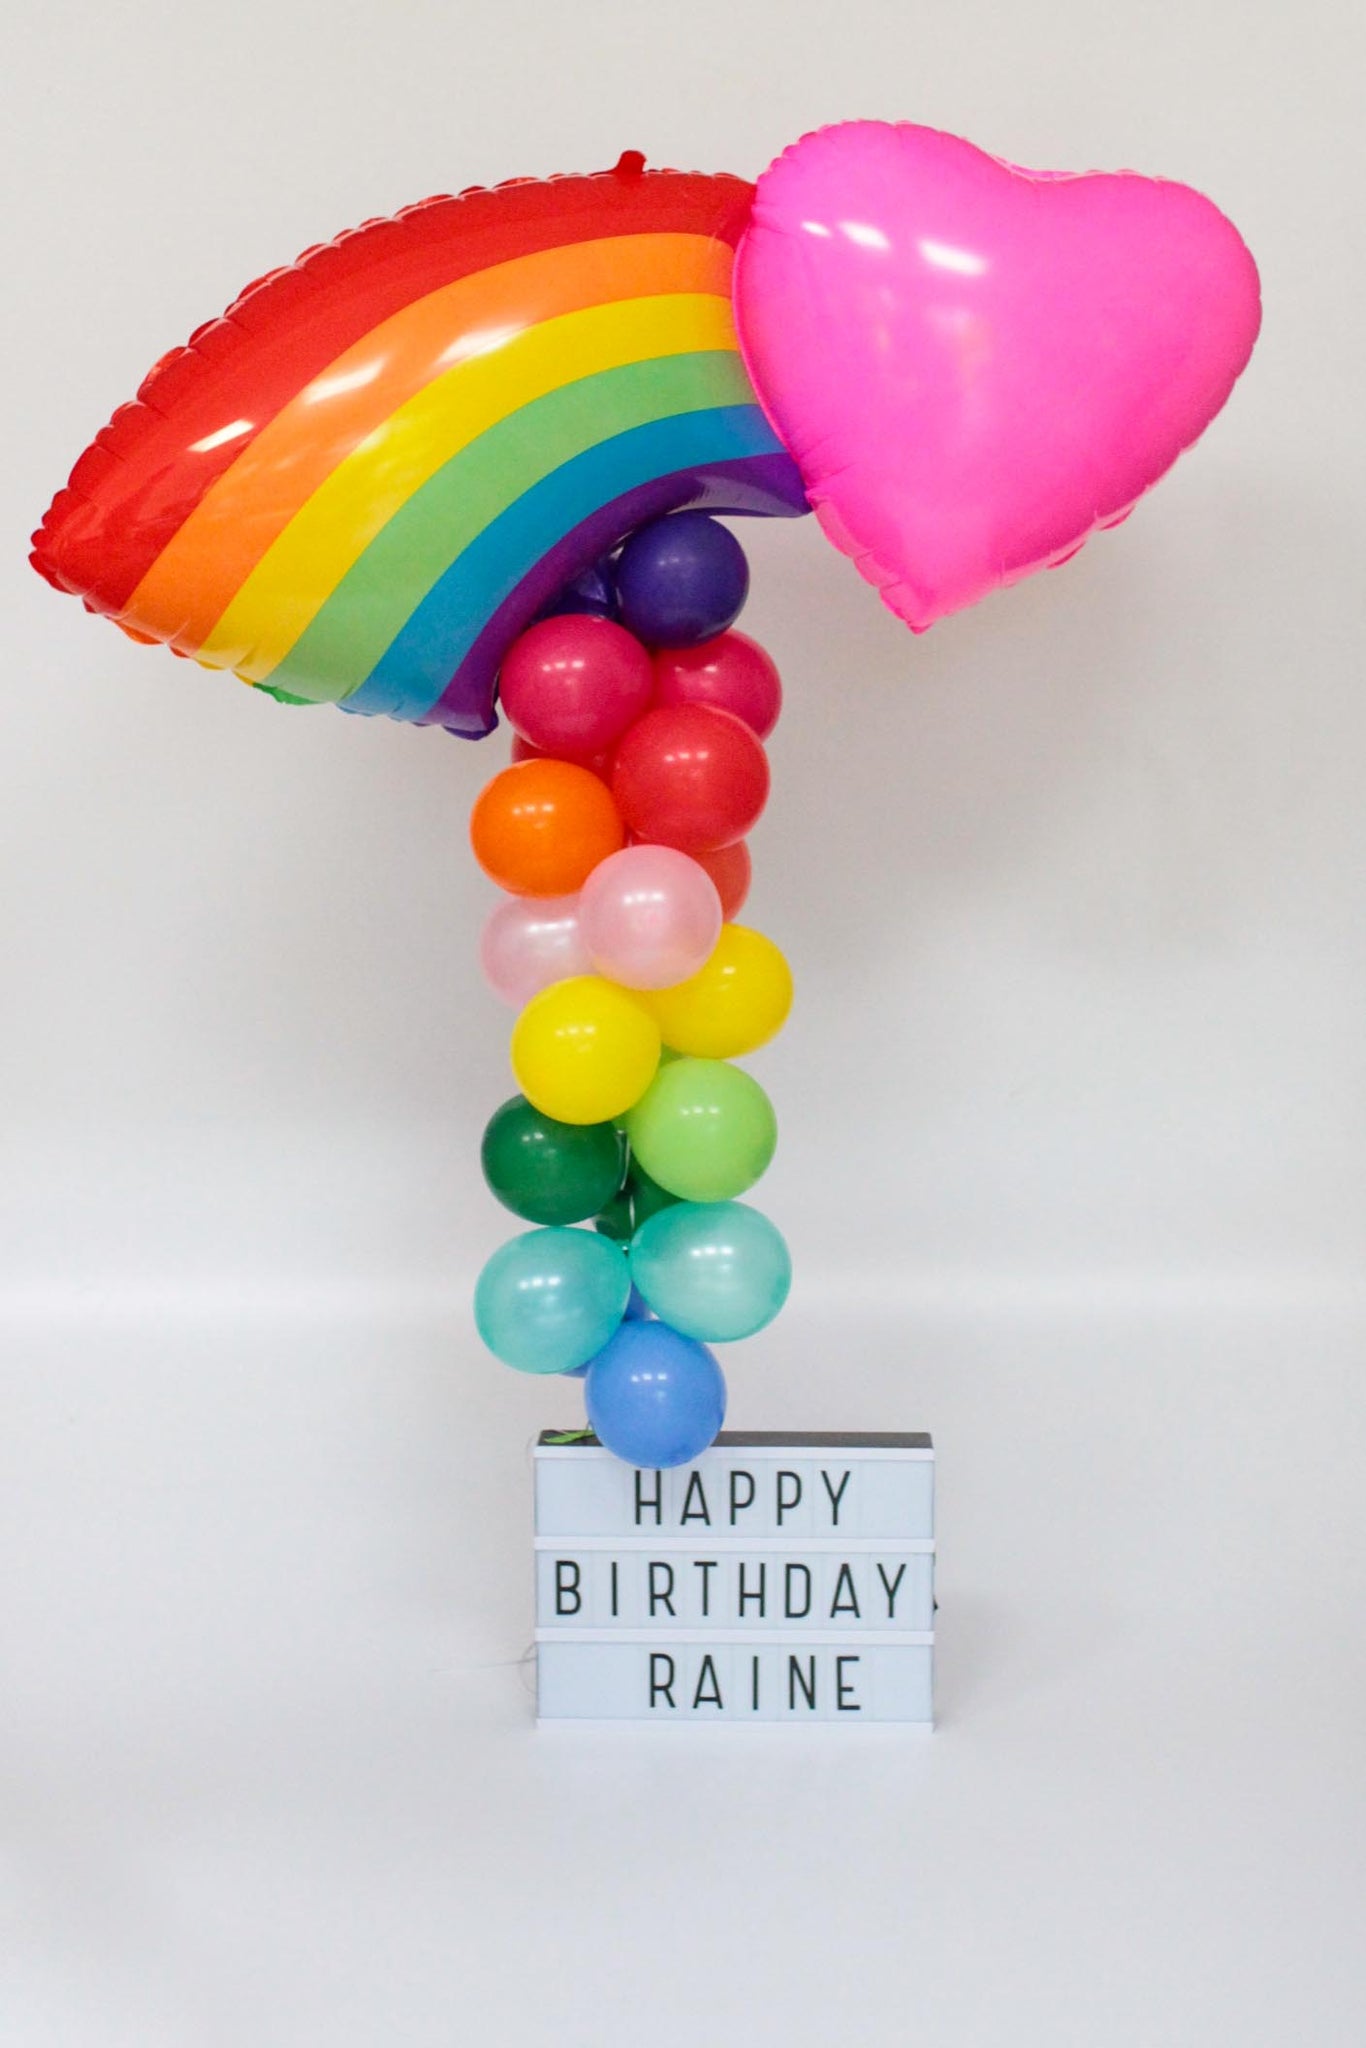
This balloon tail made from tiny 5" balloons is so easy and quick, no sticking required. You can use the same method to make a balloon garland for a backdrop or table centrepiece as well as attaching it to a balloon.
All you need is:
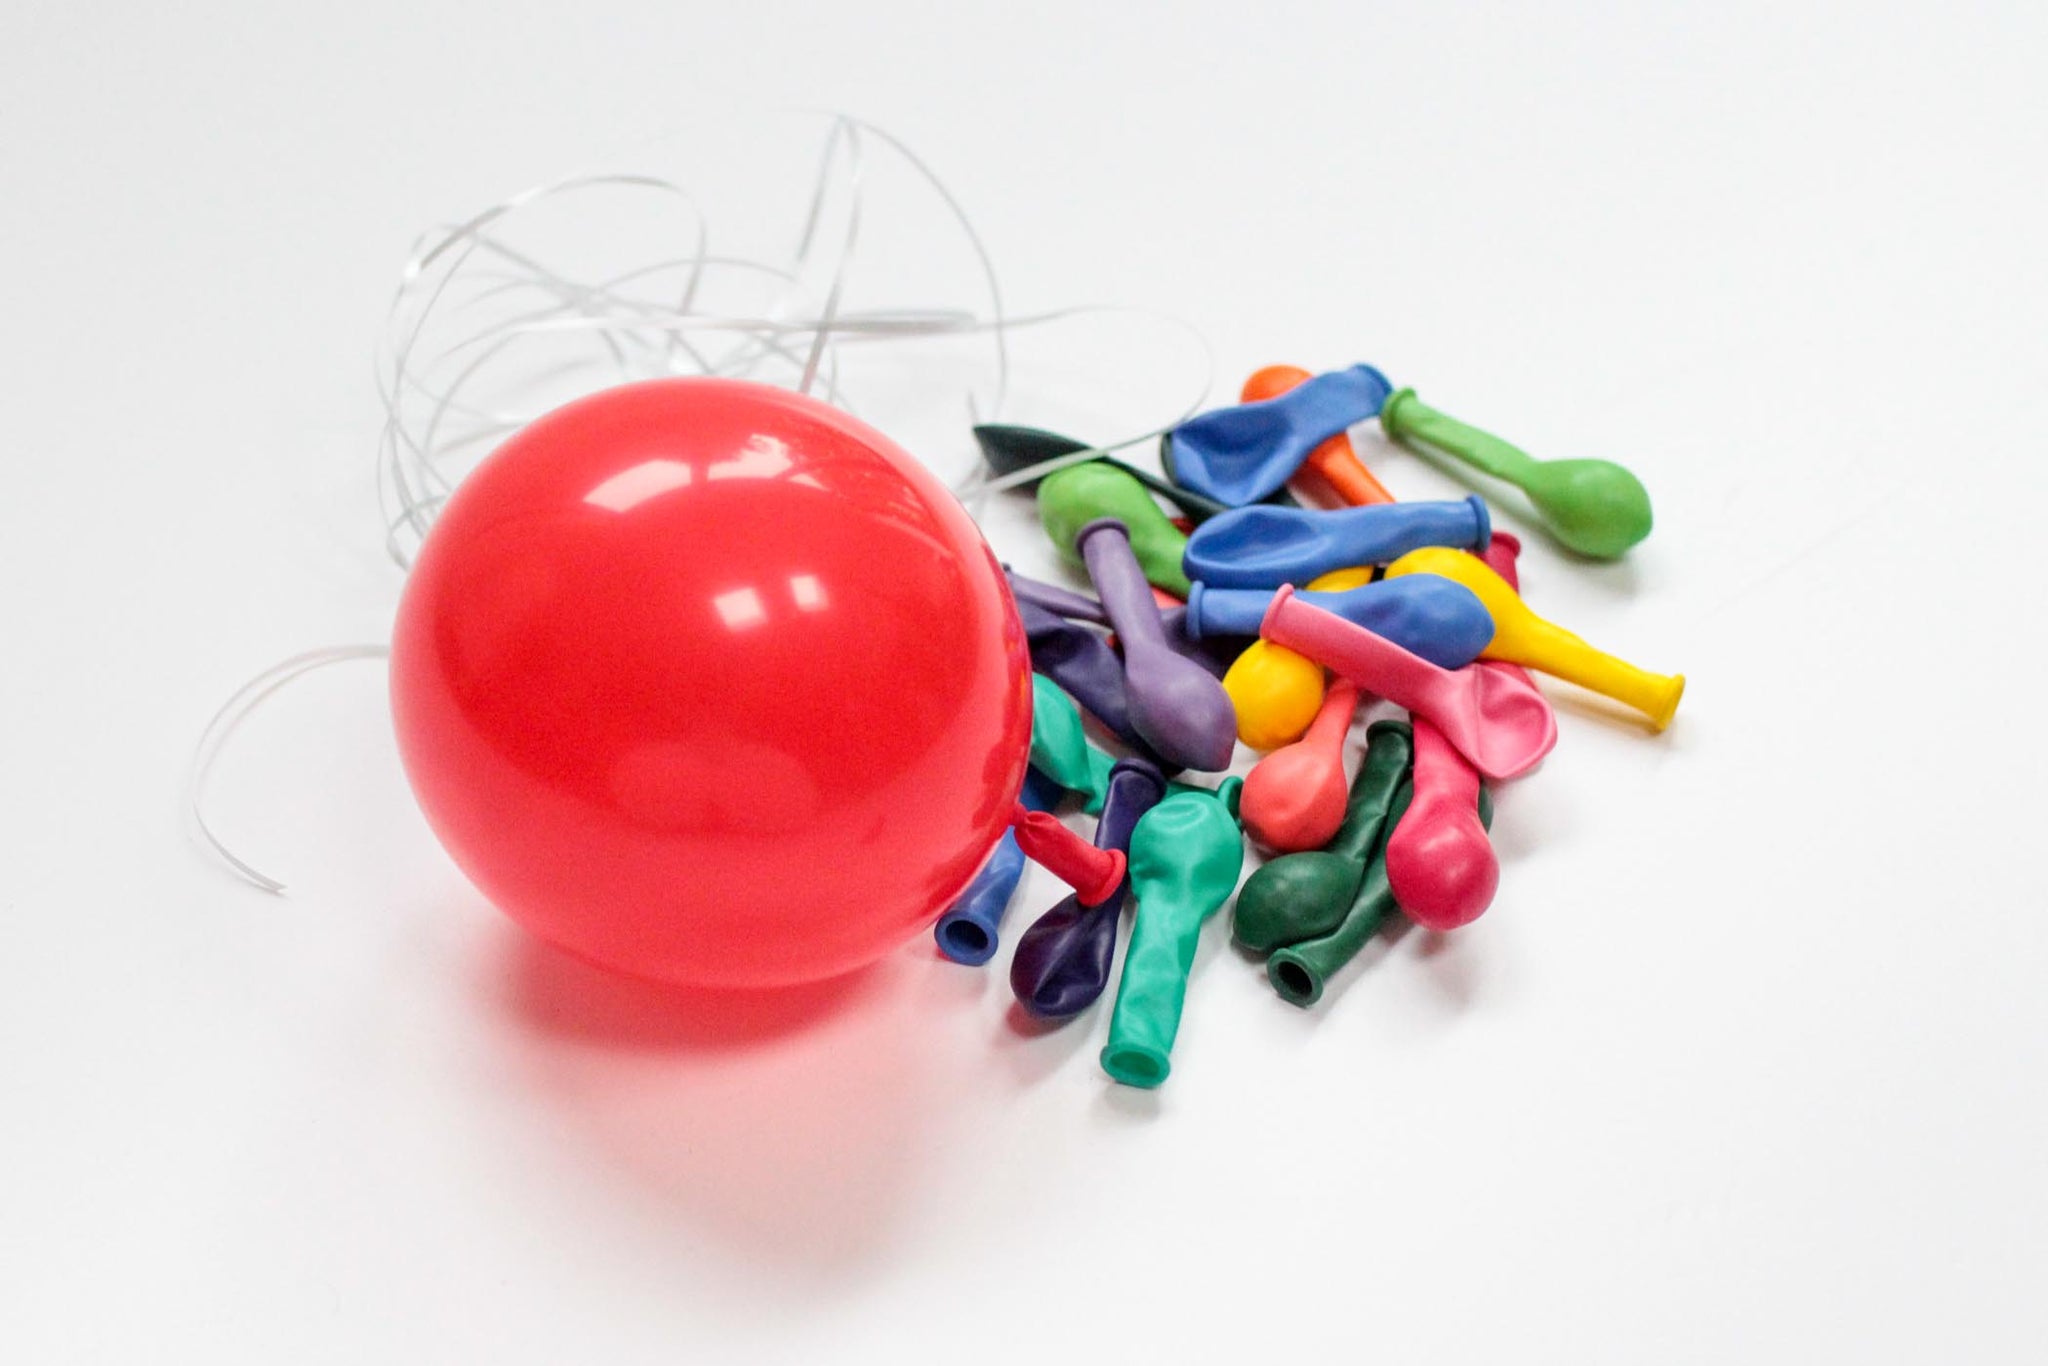
- A large helium filled balloon like our Rainbow Heart Balloon (but a 24" or 36" latex balloon will work well too. The main thing is the balloon needs to be big!)
- String or ribbon (we used curling ribbon)
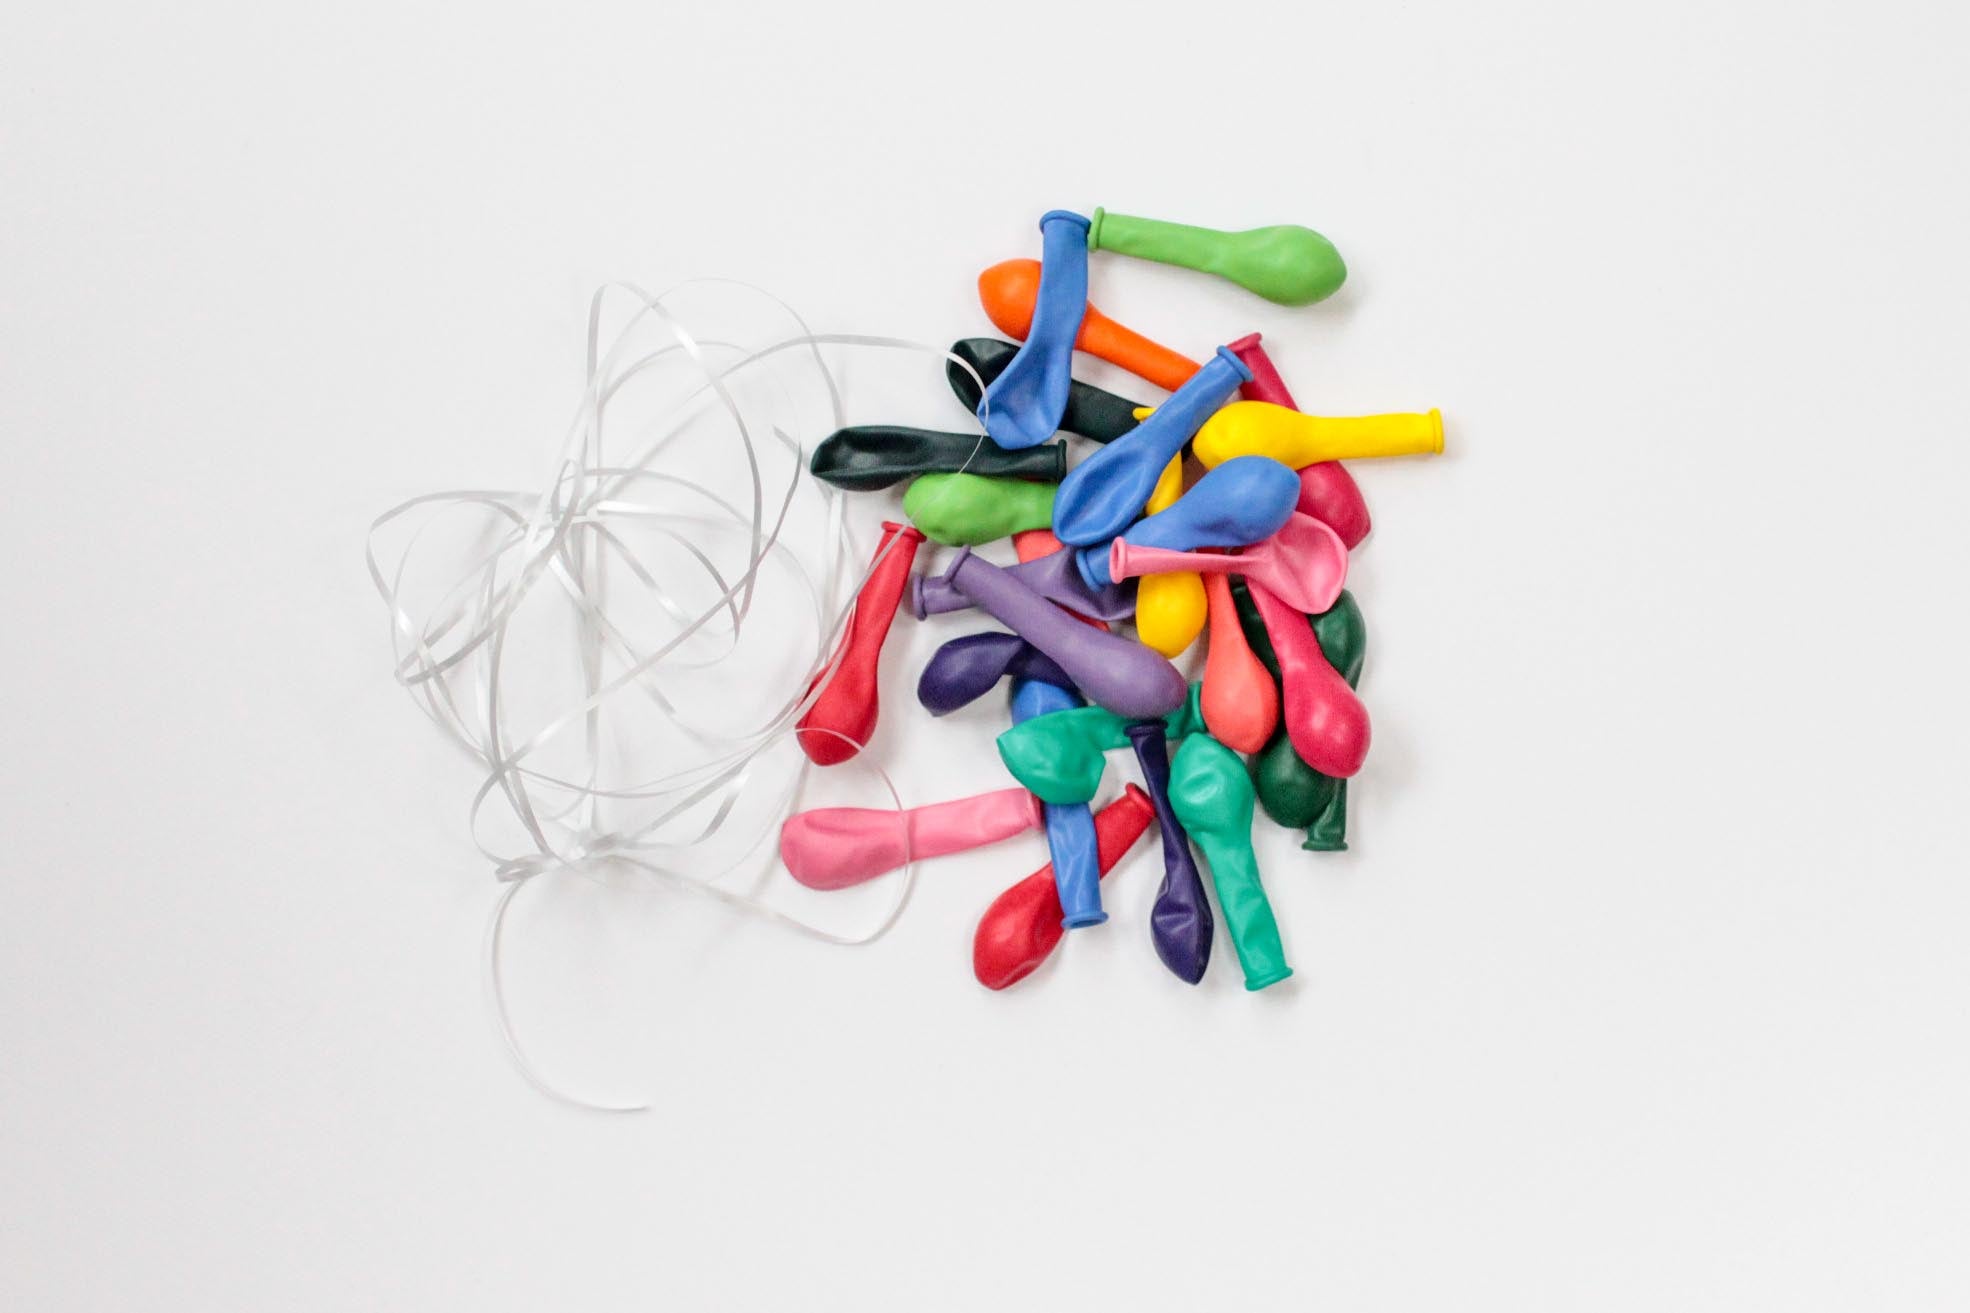
- Approx 20 Tiny 5" Balloons in colours of your choice
Step 1: Inflate your Large Balloon with helium and attach the ribbon.
Step 2: Inflate your little balloons with air or puff. Try to inflate them all the same size, I inflated them to around 4".
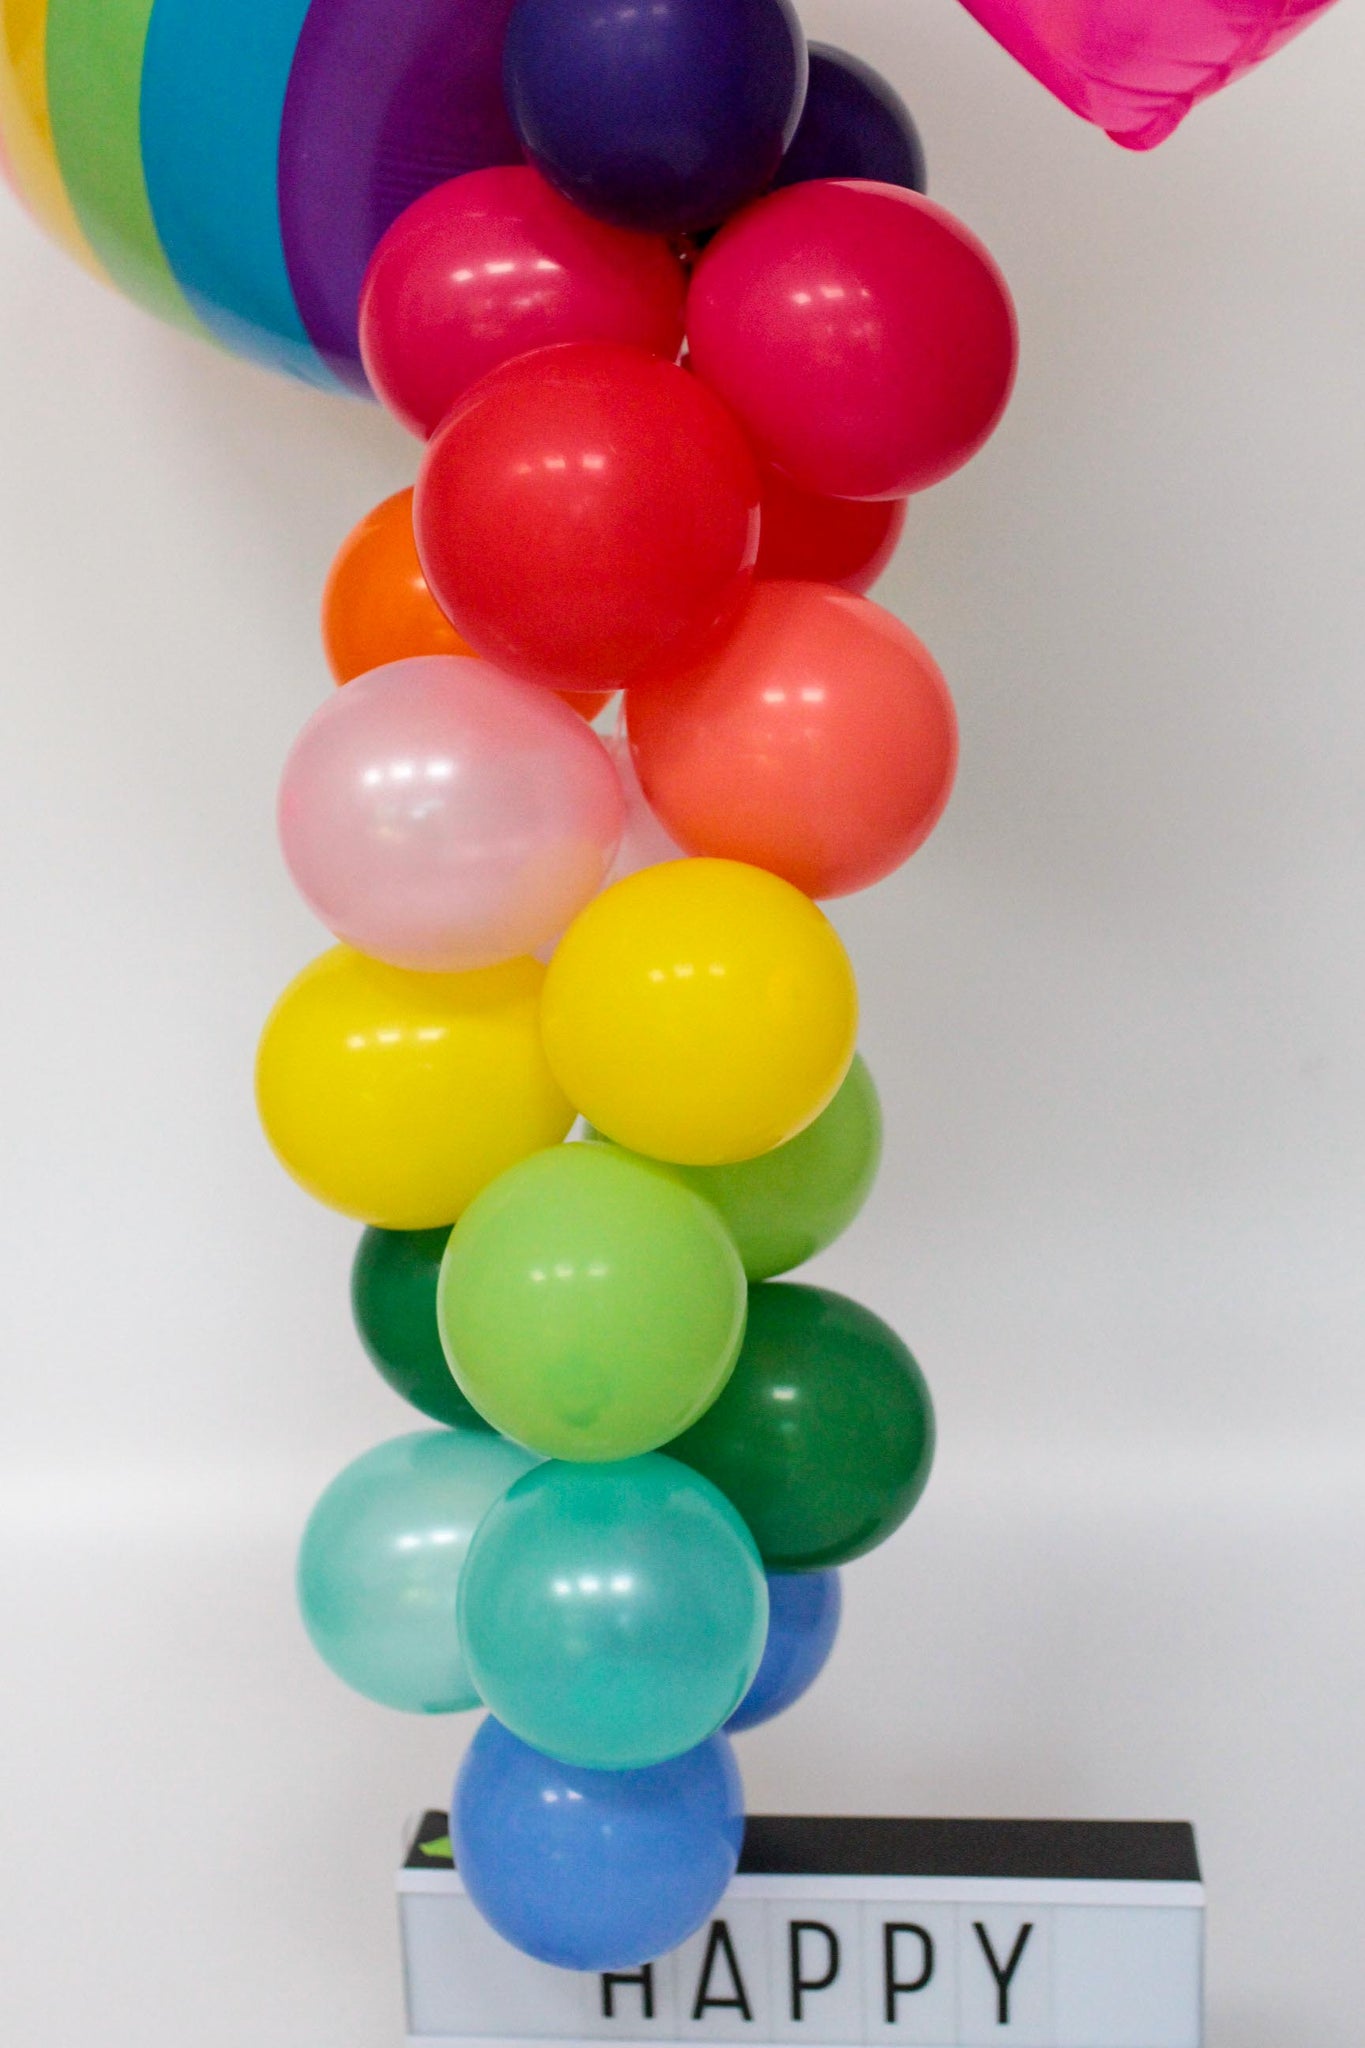
Step 3: thinking about how you want your garland tail to look, pair up your balloons and tie into pairs.
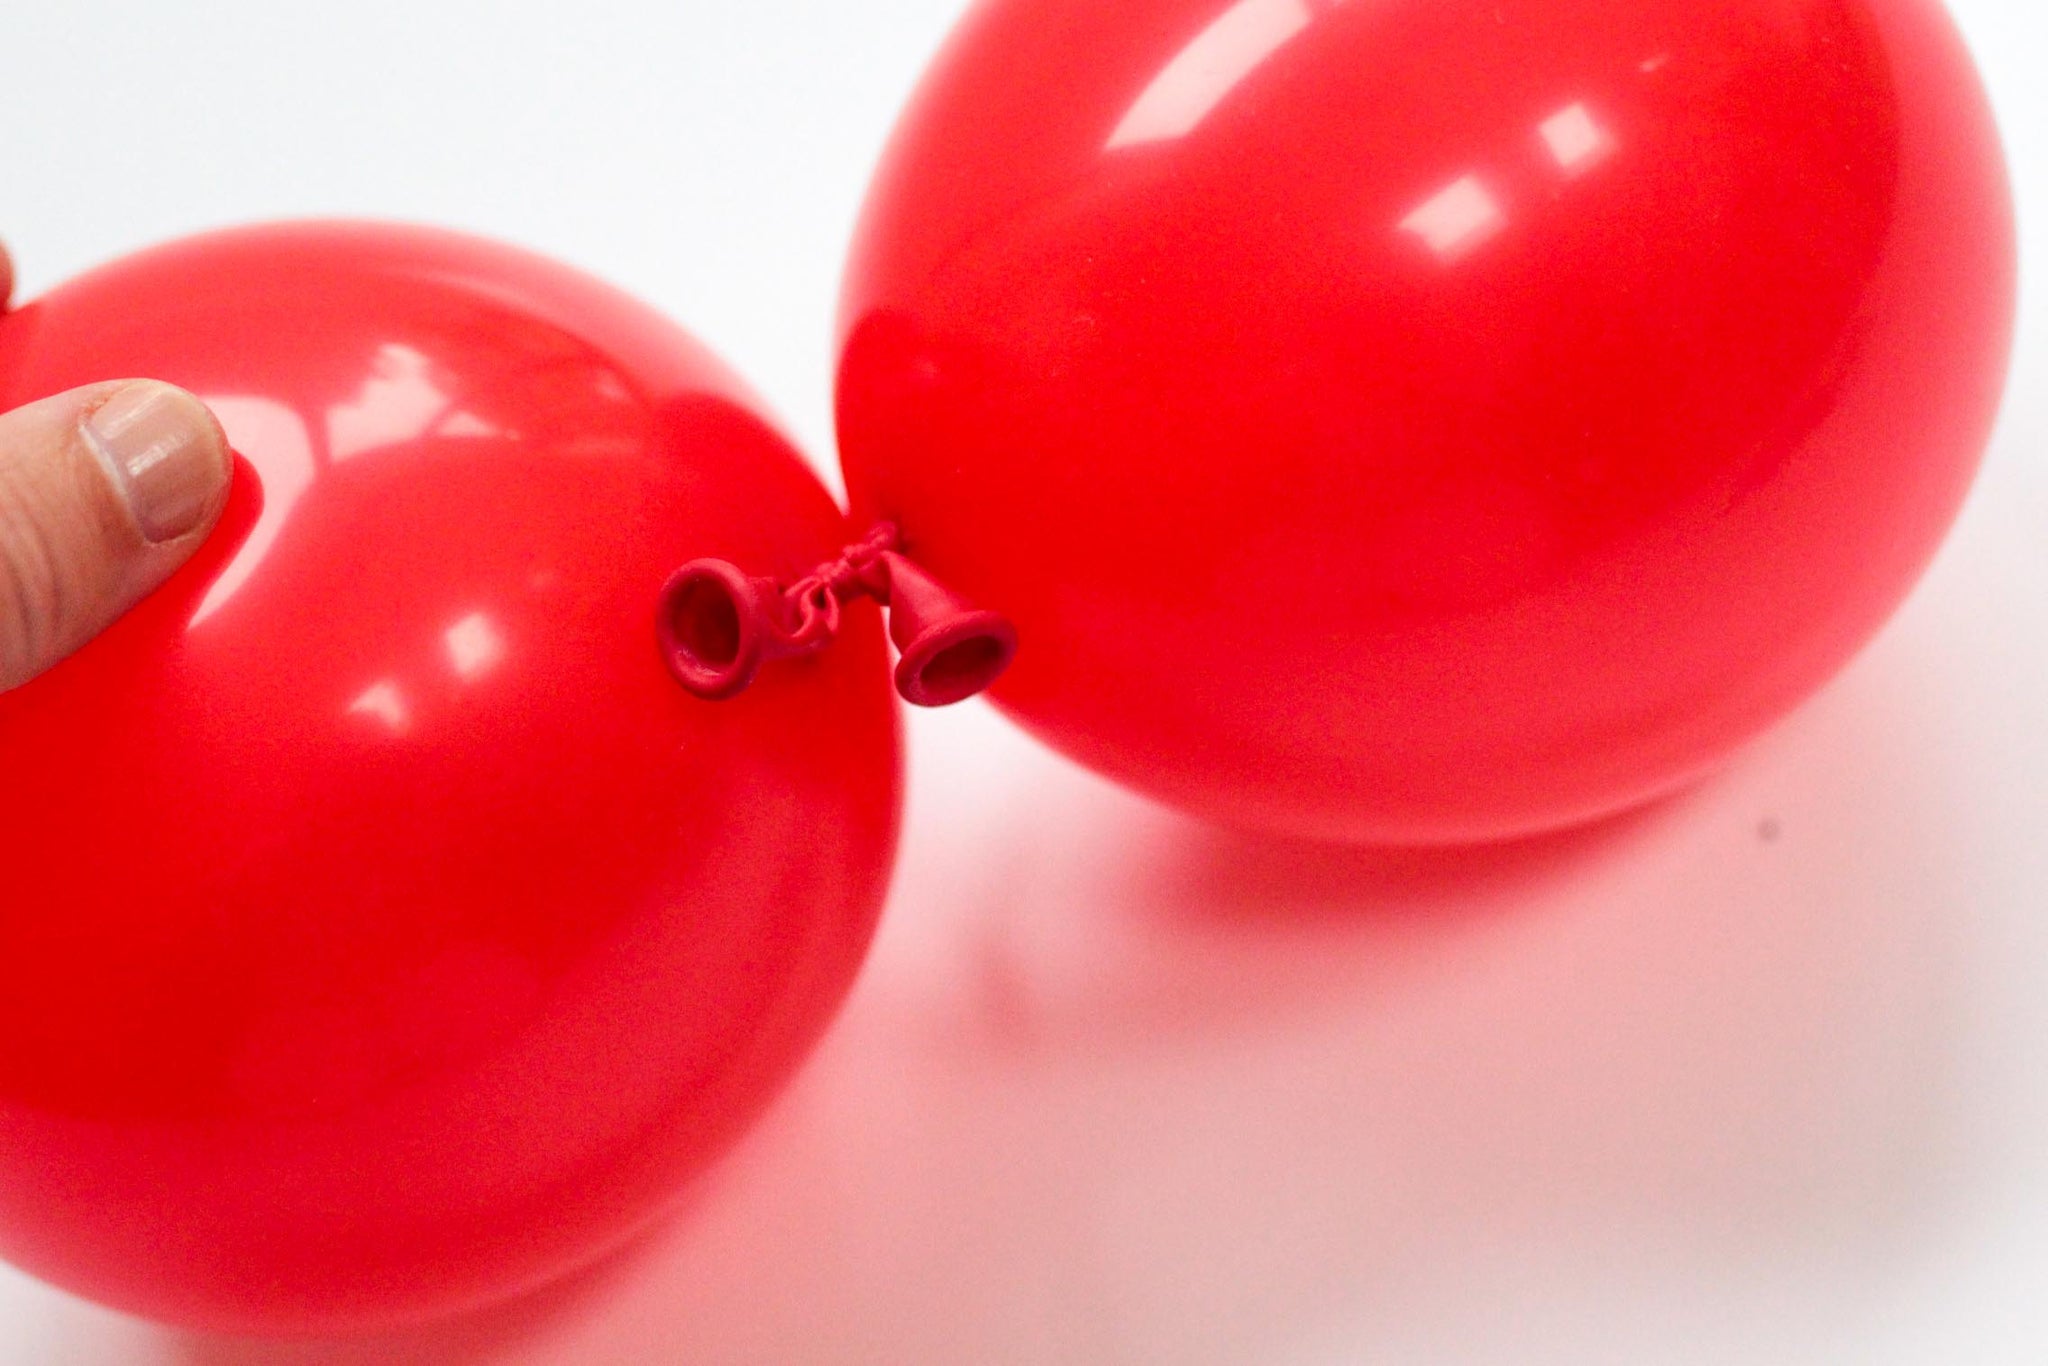
Step 4: Snip the excess off the tied knots of your balloons (this is important as it reduces the weight)

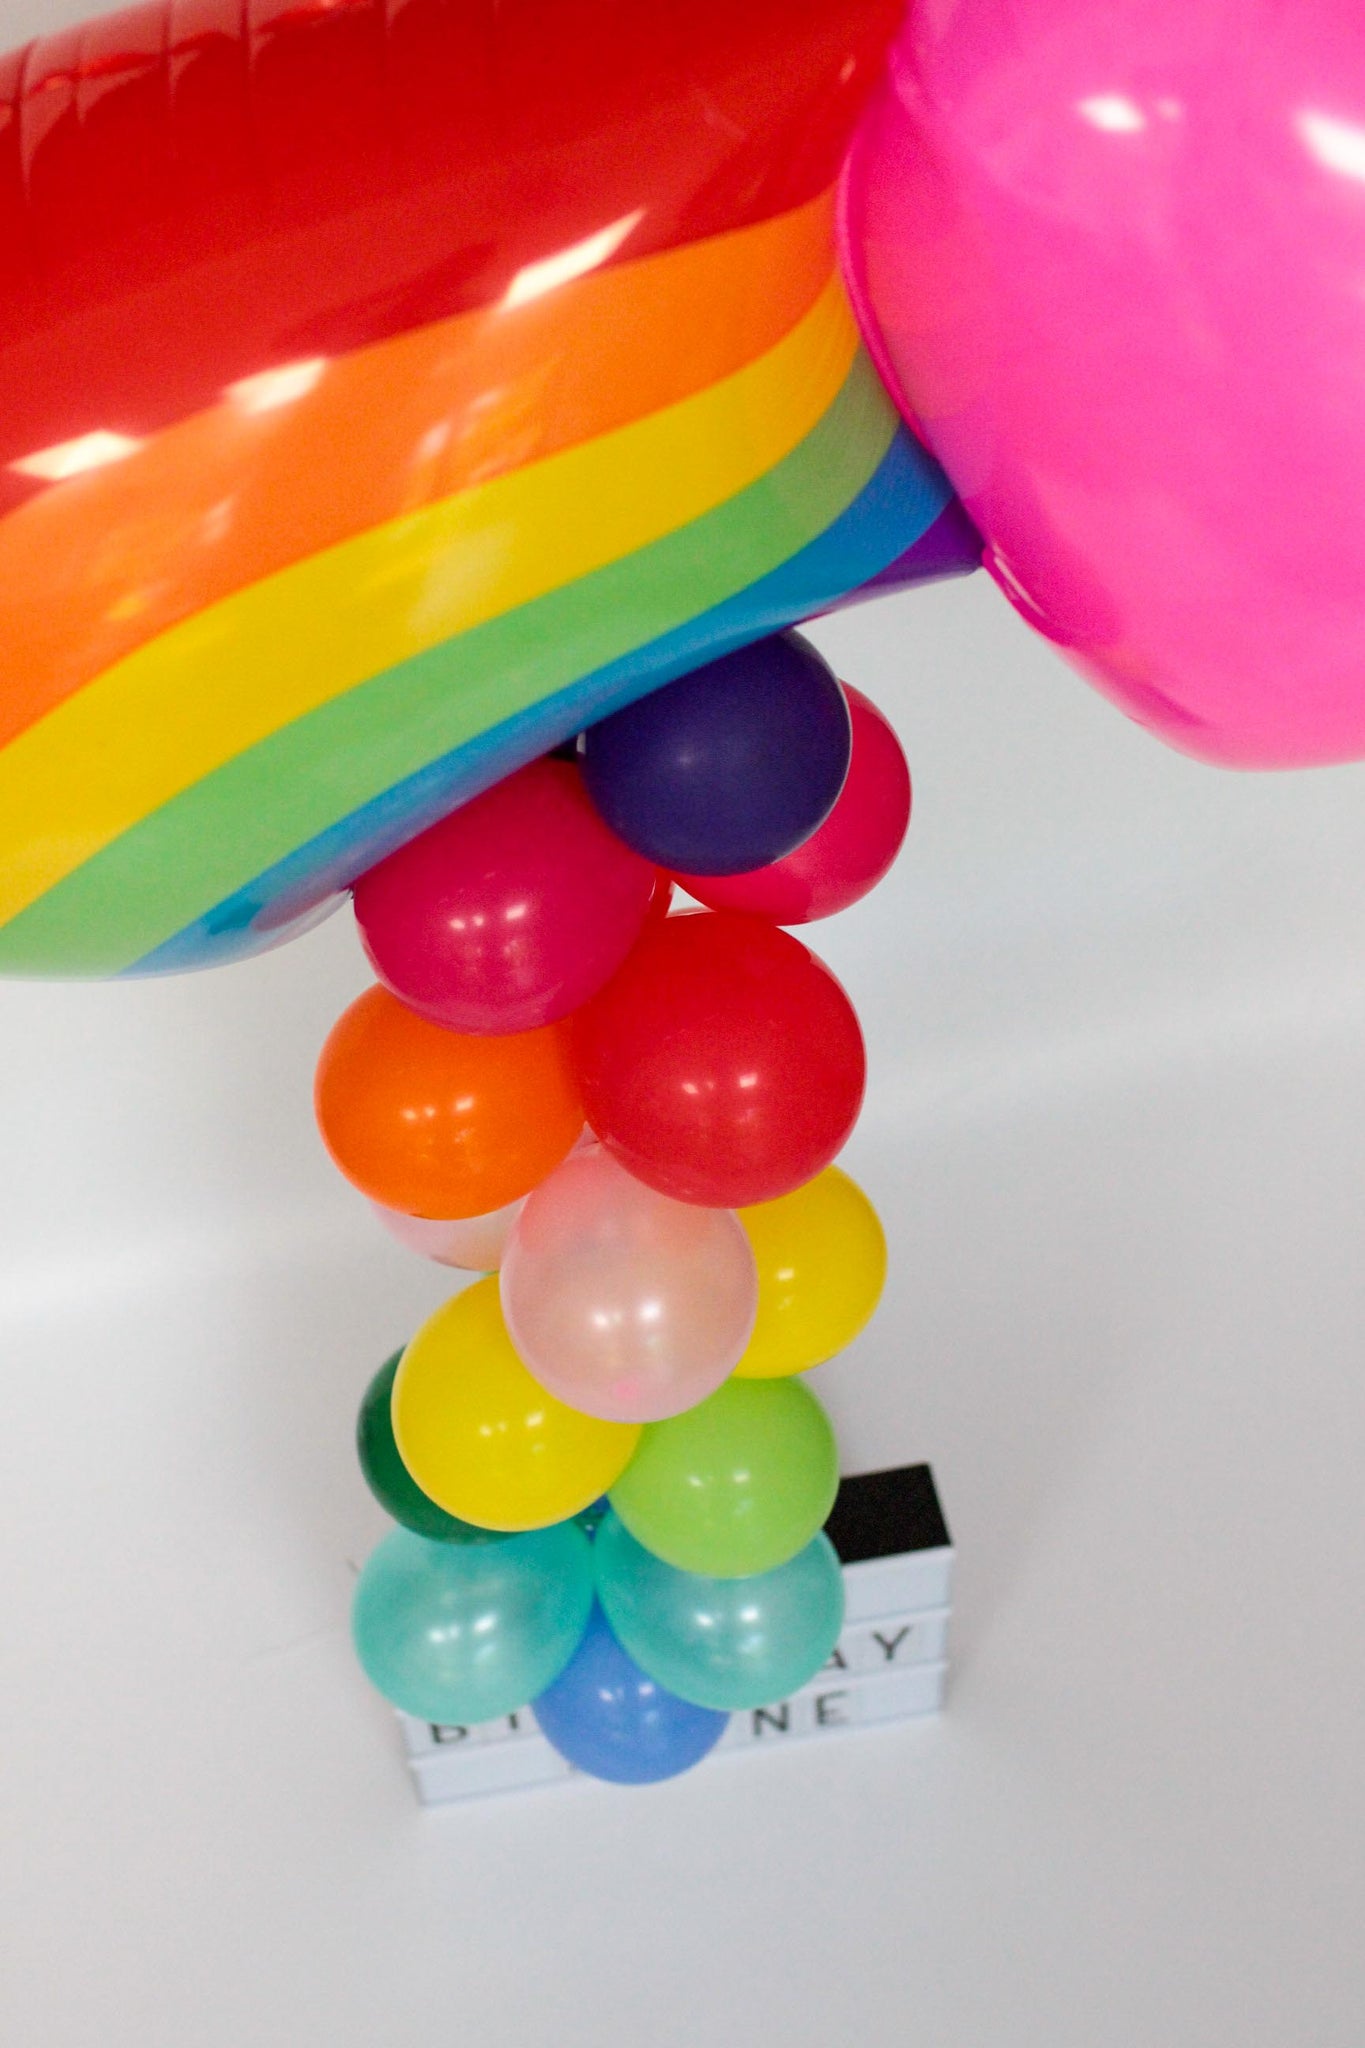
Step 5: Starting at the top of your tail and just under your big balloon, place your first pair of tiny balloons and wrap the ribbon once over the tied knot in the centre of your pairing, this alone should hold your balloons in place and also means it is easy to reposition your balloons if you need to. Then going down the length of ribbon repeat this step until you run out of balloons or the balloon will no longer hold more weight.